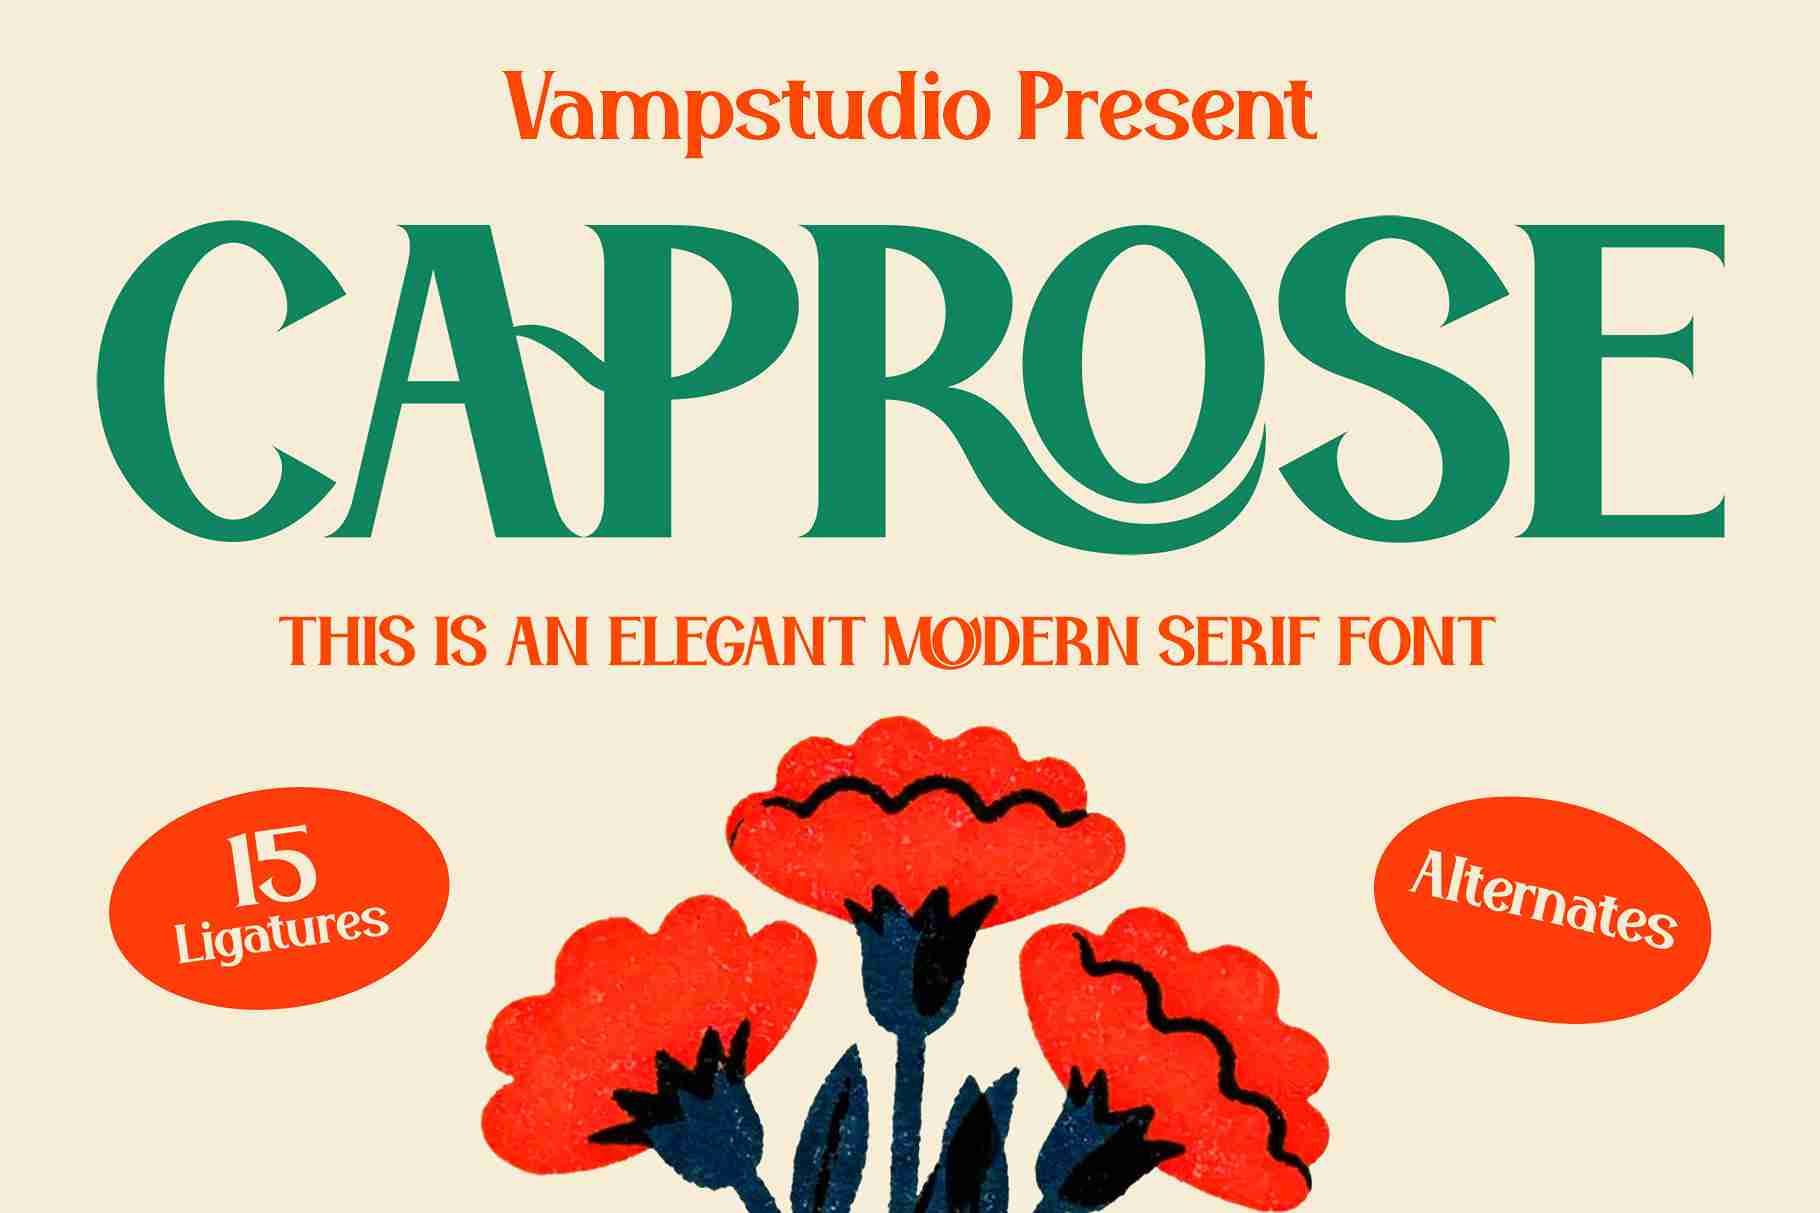
As a graphic designer, you already know that typography can make or break a project. But if you’re only using the default letters in your premium fonts, you are leaving a massive amount of typographic potential on the table.
OpenType fonts (.otf) come packed with hidden gems: elegant swashes, beautifully linked ligatures, true small caps, and stylistic alternates that can instantly elevate a design from “standard” to “bespoke.” However, these features aren’t always turned on by default.
Whether you’re drafting a formal document, designing a hero image, or laying out a brand identity, knowing how to access these typographic features is essential. In this guide, I’ll walk you through exactly how to unlock and enable OpenType features across Microsoft Word, Adobe Photoshop, and Adobe Illustrator.
Before we dive into the software, let’s establish exactly what we are unlocking. OpenType is a font format developed jointly by Adobe and Microsoft. Unlike older TrueType (.ttf) fonts, OpenType allows type designers to embed thousands of extra characters (glyphs) and programmed behaviors into a single font file.
The most common OpenType features you’ll want to use include:
How to Enable OpenType Features in Microsoft Word

Step-by-Step Guide for Word:
Expert Troubleshooting Tip: OpenType features in Word will be grayed out or fail to work if your document is saved in the older “Compatibility Mode” (.doc). You must save your document in the modern .docx format for Stylistic Sets and Ligatures to function. Additionally, checking the “Kerning for fonts” box at 1 point and above will ensure optimal spacing.

Photoshop offers granular, interactive control over typography, providing multiple ways to access OpenType features.
Method 1: The Character Panel (Global Control)
Method 2: On-Canvas Glyph Alternatives (Interactive Control) Photoshop allows you to edit glyphs directly on your canvas without opening menus.
Method 3: The Glyphs Panel (Exhaustive Control) If you need to find a specific ornament or alternate character, go to Window > Glyphs. This panel displays every single glyph embedded in the .otf file, allowing you to double-click any shape to insert it into your text.
Watch the tutorial here.
As a vector-based program built for professional branding and logo design, Illustrator provides the most comprehensive typographic control in the Adobe Creative Cloud suite.
Method 1: The Dedicated OpenType Panel Unlike Photoshop, Illustrator separates its OpenType features into a dedicated panel.
Method 2: The Touch Type Tool For highly customized typography (like logo design), use the Touch Type Tool (Shift + T). This allows you to select a single letter and manipulate its scale, rotation, and position non-destructively. While a letter is selected, a mini-menu will appear showing up to five alternate glyphs for quick swapping.
Method 3: The Glyphs Panel Go to Window > Type > Glyphs to open the panel. To easily navigate a font with thousands of characters, highlight a letter in your artwork and change the panel’s “Show” dropdown from “Entire Font” to “Alternates for Current Selection”. This filters the view to only show the swashes and alternates available for that specific letter.
Watch the tutorial here.
What if you are using software like Silhouette Studio, basic web editors, or Canva, which have limited or no OpenType support?
You can still access swashes and alternates if the font is PUA (Private Use Area) Encoded. PUA encoding assigns a permanent Unicode value to special characters so they act like standard symbols.
By utilizing these panels and settings in Word, Photoshop, and Illustrator, you transform fonts from static alphabets into dynamic, programmable design tools, ensuring your typography is always polished, professional, and highly customized.
At Vampfonts, we specialize in Premium OpenType Fonts—typeface collections engineered to give designers more than just a set of letters, but a complete creative toolkit. Most of our fonts include OpenType files, allowing designers to maximize advanced features and elevate their projects far beyond the limits of standard typography.
Below our best premium fonts with OpenType support